今、何かとモニタリングというとgrafana。Grafanaのダッシュボードは結構いろいろなところで使われているから使い方を知っておいても損はないかと。今更SMNP+Muninという選択肢はないかw
#なんか辺な風になってたので直した。(2021/7/1)
Grafanaの軽い説明
Grafanaには、データソース(DB)を指定して、そこからグラフを作っていくという流れになる。もちろんデータソースは自分で作っておく必要がある。グラフの作成はかなり高機能。
今回はEdgeRouterからSNMPのデータを取ってきて、データソースに保存されたものをGrafanaで表示させる。Grafanaの作り込みは、出来合いのグラフを使うことにする。
CentOSでと行きたいがdockerで最終的に動かすことになるので、ここはUbuntuでの動作をみる。
かなり試行錯誤した。。。
EdgeRouterでは、SNMPを有効にしてCommunity名をPublicにしておく。

事前準備
以下を実行
apt-get -y install snmp snmpd snmp-mibs-downloader ipmitool
Grafanaのインストール
ここれみて設定。 https://grafana.com/grafana/download?platform=linux
sudo apt-get install -y adduser libfontconfig1
wget https://dl.grafana.com/oss/release/grafana_6.7.3_amd64.deb
sudo dpkg -i grafana_6.7.3_amd64.deb
Unpacking grafana (6.7.3) … Setting up grafana (6.7.3) … Adding system user `grafana’ (UID 112) … Adding new user `grafana’ (UID 112) with group `grafana’ … Not creating home directory `/usr/share/grafana’. ### NOT starting on installation, please execute the following statements to configure grafana to start automatically using systemd sudo /bin/systemctl daemon-reload sudo /bin/systemctl enable grafana-server ### You can start grafana-server by executing sudo /bin/systemctl start grafana-server Processing triggers for systemd (245.4-4ubuntu3) …
メッセージに書かれているように以下を実行。
sudo /bin/systemctl daemon-reload
sudo /bin/systemctl enable grafana-server
http://IPアドレス:3000/loginへアクセス。初期ユーザ名とパスワードは共にadmin
ログインをするとパスワード変更させられる。

ログインできた。ここで一旦放置
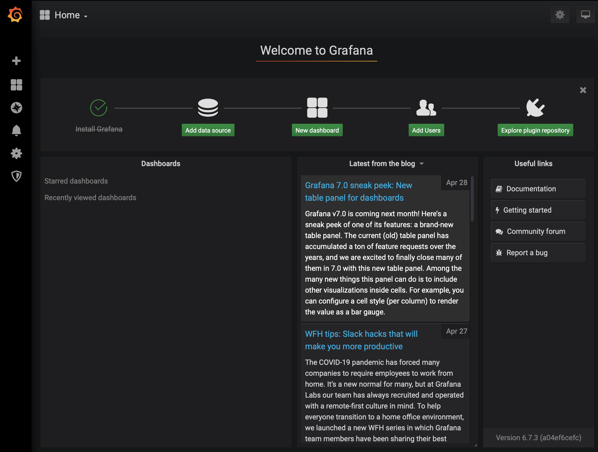
データソースとしてinfluxdbをインストール
wget -qO- https://repos.influxdata.com/influxdb.key | sudo apt-key add –
source /etc/lsb-release
echo “deb https://repos.influxdata.com/${DISTRIB_ID,,} ${DISTRIB_CODENAME} stable” | sudo tee /etc/apt/sources.list.d/influxdb.list
sudo apt-get update && sudo apt-get install influxdb
sudo systemctl unmask influxdb.service
sudo systemctl start influxdb
apt install influxdb-client
influxd -config /etc/influxdb/influxdb.conf
2020-04-29T15:50:42.861014Z info InfluxDB starting {“log_id”: “0MTeysfl000”, “version”: “1.6.4”, “branch”: “unknown”, “commit”: “unknown”} 2020-04-29T15:50:42.861450Z info Go runtime {“log_id”: “0MTeysfl000”, “version”: “go1.10.4”, “maxprocs”: 1} run: open server: listen: listen tcp 127.0.0.1:8088: bind: address already in use
データベースを作っておく
influx
> CREATE DATABASE telegraf > SHOW DATABASES name: databases name —- _internal telegraf
telegrafのインストール
wget https://dl.influxdata.com/telegraf/releases/telegraf_1.14.2-1_amd64.deb
sudo dpkg -i telegraf_1.14.2-1_amd64.deb
以下を参考にして、telegrafを設定。認証部分は空にした
https://github.com/WaterByWind/grafana-dashboards/tree/master/UBNT-EdgeRouter
curl -OL https://raw.githubusercontent.com/WaterByWind/grafana-dashboards/master/UBNT-EdgeRouter/telegraf-outputs.conf
vi telegraf-outputs.conf
以下を参考にして、EdgerRouter用の設定を行う。edgerouter1、 edgerouter2は自分の設定を行う。
https://grafana.com/grafana/dashboards/1756
curl -OL https://raw.githubusercontent.com/WaterByWind/grafana-dashboards/master/UBNT-EdgeRouter/telegraf-inputs.conf
vi telegraf-inputs.conf
agents = [ “edgerouter1”, “edgerouter2” ]を修正
telegrafを再起動
sudo systemctl restart telegraf
ちゃんとデータが取れているかは以下で確認ができる。
> use telegraf > show series
エントリーが確認できればOK
Grafanaの設定
Grafanaの設定に戻る
Add data SourceをクリックしてInfluxDBを選択
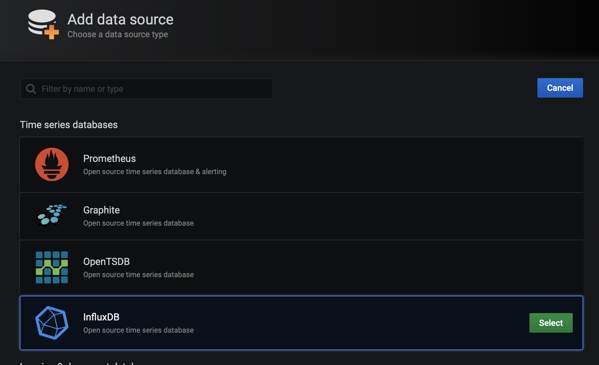
以下のような設定をする
- URL http://自ホストのIPアドレス:8086
- Database telegraf
にする。
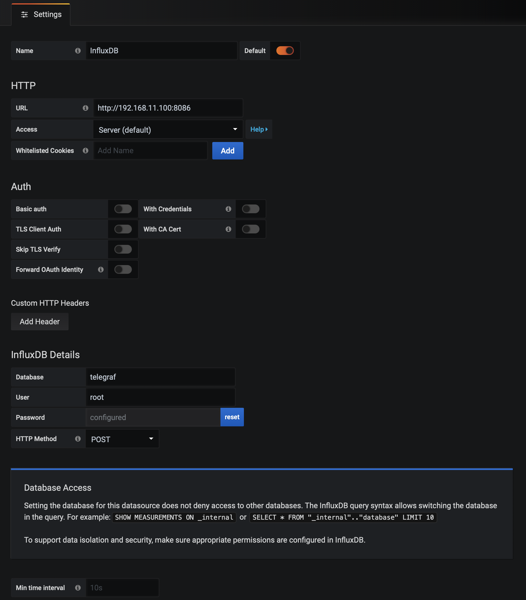
Save & Testをクリックして以下のようになれば成功

Edgerouter用のダッシュボードをインポート
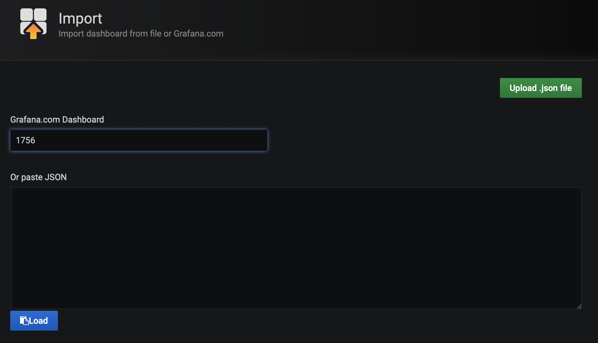
Importをする。
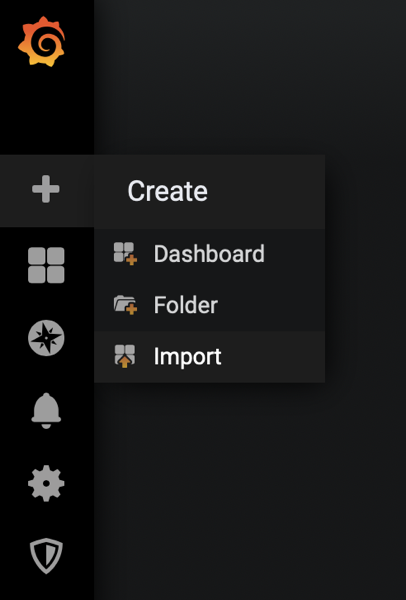
1756と入力してLoadをクリック
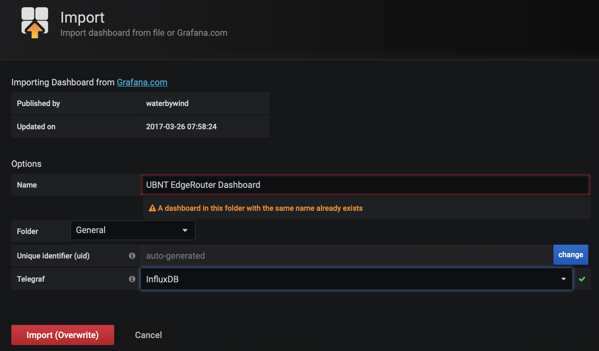
TelegrafのDBとしてinfluxDBを選択してImportをクリック(もう一度インポートしているのでキャプチャーでは上書き警告がでてます。。。)
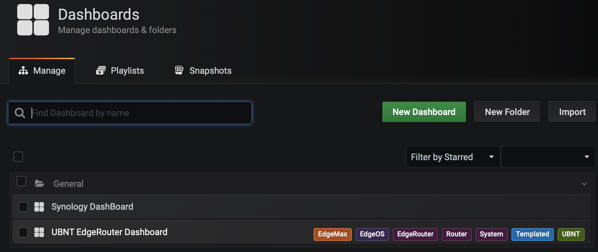
Dashboardを開くとEdgeRouter用のダッシュボードが追加されている。
クリックするとNo Dataとなるが画面上部のRouterとInterfaceのプルダウンにIPアドレスやインタフェースを入力する。


入力をするとデータが表示される。
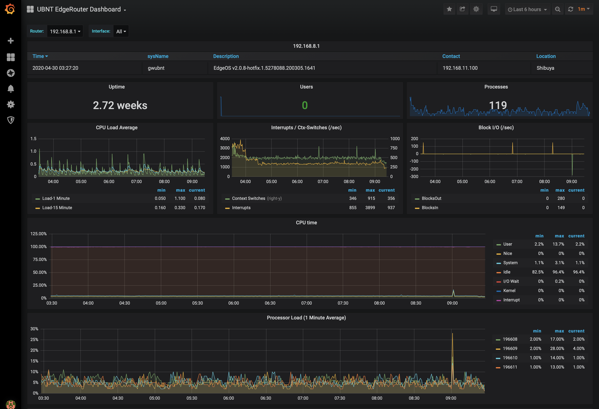
Edgerouterの画面より情報は豊富ですなぁ。久々に頭使った。まぁ、いずれにせよ。これはDockerだな。